A little egret is stalking the shallows at your local reservoir. You raise the camera, half-press the shutter, and four numbers start spinning in your head. By the time you have replayed last week's forum thread, the bird has moved on. Bird photography settings are not complicated, but they are easy to overthink. What follows is a working cheat sheet for British light and British birds: three settings worth understanding, a handful of reliable starting points, and the small habits that turn a blurry record shot into something you are glad you kept.
The Three Settings, in Plain English
Every exposure comes down to three dials, and each one does a job you can describe in a single sentence.
- Shutter speed decides whether movement is frozen or smeared. It also controls how much light reaches the sensor: 1/1000 second is four times faster than 1/250, and lets in a quarter of the light.
- Aperture is the size of the hole in the lens. A wide aperture such as f/4 gathers more light and blurs the background; a narrower one such as f/8 keeps more of the bird sharp front to back.
- ISO brightens the picture after the fact. Raising it lets you keep the shutter speed and aperture you want, at the cost of visible grain and a loss of fine feather detail.
One dial matters most, and the other two serve it. For birds, that dial is almost always shutter speed. Set Auto ISO, give it a sensible ceiling, and let the camera worry about the third number while you concentrate on the bird.
A Cheat Sheet for Six Common Situations
Treat these as launch points, not laws. Take a test frame, glance at the back of the camera, and adjust from there.
- Garden feeder, small birds, bright overcast: 1/800 sec, f/6.3, Auto ISO with a 3200 ceiling.
- Woodland at dawn, dim and cluttered: 1/250 sec, f/5.6, Auto ISO up to 6400, elbows braced against a trunk.
- Wetland wildfowl in decent light: 1/1000 sec, f/8, ISO 400.
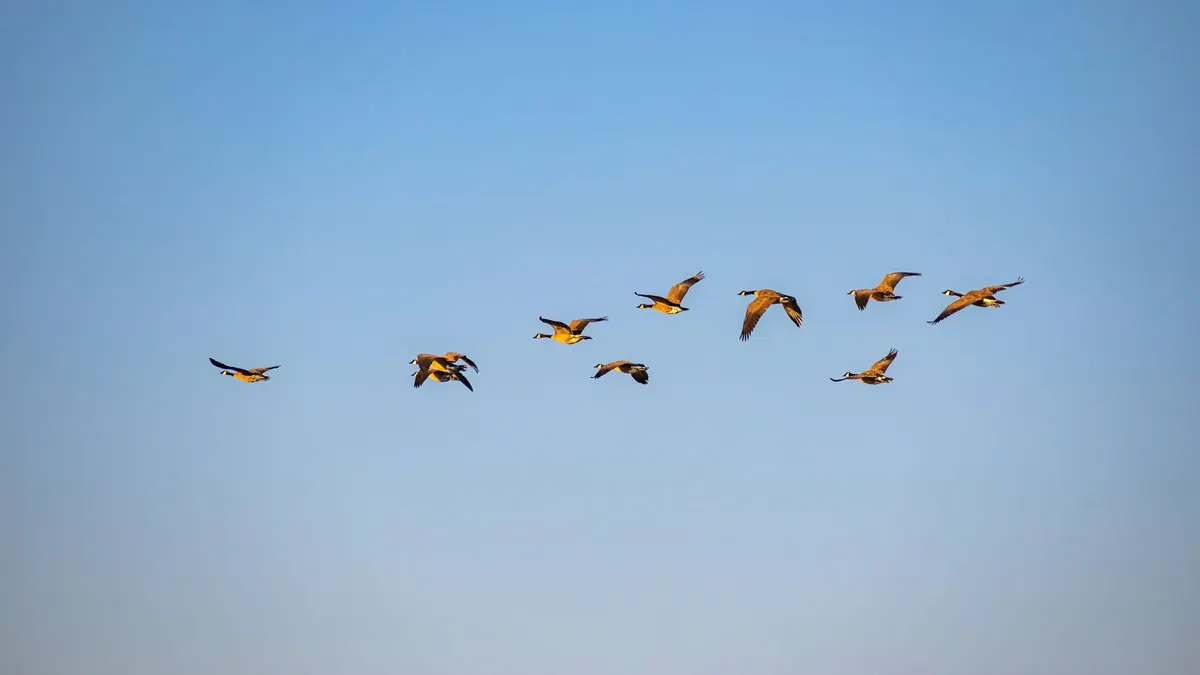
- Birds in flight — gulls, swifts, waders: 1/2000 to 1/4000 sec, f/5.6 to f/8, Auto ISO.
- Perched bird from a hide shelf or tripod: 1/250 sec, f/8, ISO 200 to 400.
- Barn owl hunting at dusk: 1/1000 sec, f/4, Auto ISO up to 6400.
Shutter Speed: The Setting That Saves the Shot
There is an old rule about hand-holding at one over your focal length, and it is worth knowing. It is also about your hands, not the bird. A blue tit on a branch twitches roughly every second or so, and a redshank probing mud never quite stops moving. Image stabilisation in the lens or body counters your shake; it does nothing about the subject.
Start at 1/1000 second for small perched birds and 1/2000 for anything in flight. If the light will not allow it, change something else rather than dropping the shutter speed — move closer, open the aperture, raise the ISO, or rest the camera on a wall, a beanbag or a monopod. A little blur in a wingtip can look lovely; blur across the eye rarely does.
Aperture: How Much Bird Needs to Be Sharp
Wide apertures are tempting. They buy shutter speed and melt the background into clean colour, but the zone of sharpness can be thinner than the bird. Photograph a blue tit from three metres at f/4 and you may find the cheek sharp while the tail feathers have already softened.
When the light allows, f/6.3 to f/8 is a comfortable middle for perched birds. Distance matters too: the further you are from the subject, the more depth of field you get for the same aperture. And the cleanest backgrounds usually come from separation rather than aperture alone, so get low, look for a gap, and try to place the bird against something well behind it.
ISO: The Setting You Accept, Not Choose
Use Auto ISO and stop fighting it. A sharp image with a little grain will nearly always serve you better than a smooth, clean frame with motion blur through it. Set a ceiling you are happy with — 3200 is a reasonable starting point on most modern cameras, and 6400 is fair for dusk work — and let the camera move within that range.
If your camera lets you set a minimum shutter speed inside the Auto ISO menu, do it. That single option prevents the camera from protecting image quality at the expense of sharpness. One more thing worth knowing: a bright sky behind a bird will pull the meter down and leave the bird dark, so add a little exposure compensation or meter on the bird itself.
Autofocus and Burst Mode Matter More Than You Think
Settings on the dial are only half of it. The other half is how the camera decides what to focus on.
- Perched bird in branches: continuous autofocus with a single point, placed on the head or eye.
- Perched bird, clean background: a small zone or group of points is quicker to acquire.
- Flight: a wider zone or subject-tracking mode, or a single central point against open sky.
Switch to continuous shooting and take short bursts rather than holding the button down. If your camera supports back-button focus, learn it; it separates focusing from the shutter and makes waiting much easier. Keep the active point on the head. Feathers on the back can be razor sharp while the eye is not, and the eye is what a viewer looks at first.
Five Minutes Before You Raise the Camera
Most missed opportunities come down to setup, not skill. Before you leave the house, check the battery and the card, then set the camera up so it is ready for the fastest thing you might see: shutter speed high, Auto ISO ceiling confirmed, continuous autofocus on, burst mode selected. Then, when you arrive, spend the first minute watching rather than shooting.
Find a perch the birds already use — a lichen-covered branch near the feeder, a fence post over the water — focus on it, and wait. Practise on pigeons and gulls in the local park; they are close, common and forgiving, and they will teach you more about tracking a moving bird than any amount of reading. Get the shutter speed right, accept the ISO, and the rest follows with time outdoors.
Photo: Jakub Zerdzicki / Pexels