The first time you try it, the bird is gone before you have found it in the viewfinder. A lapwing lifts off the stubble, wheels once, and is already a smudge against the fen. Flight photography feels impossible for a fortnight, and then it clicks — not because you bought something new, but because you stopped chasing and started anticipating.
What follows is the working method: the settings that do the heavy lifting, the handling that keeps a fast bird sharp, and the fieldcraft that gets you close enough for any of it to matter.
Shutter speed comes first
Every other setting can be compromised. Shutter speed cannot. Wings move quickly, and a photograph of a bird with blurred wingtips is usually a photograph of a bird with blurred everything. Decide your speed before you leave the house, then build the rest of the exposure around it.
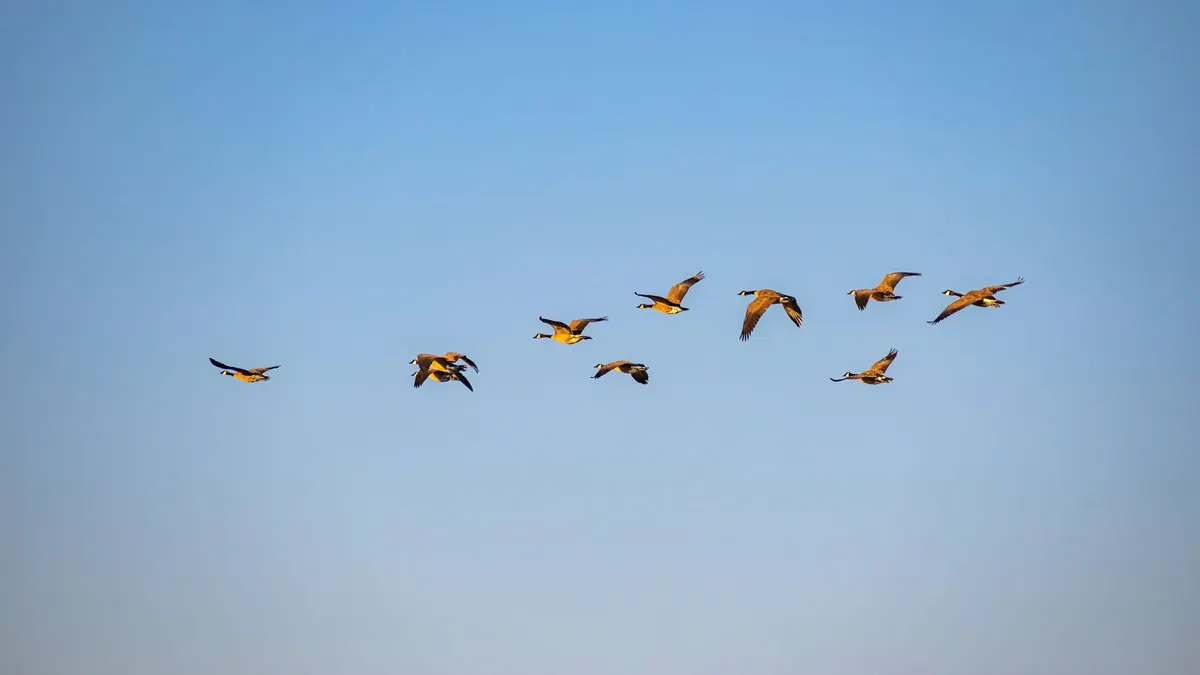
- 1/500–1/800 sec — herons, geese, swans, buzzards, red kites: anything with a slow, deep wingbeat.
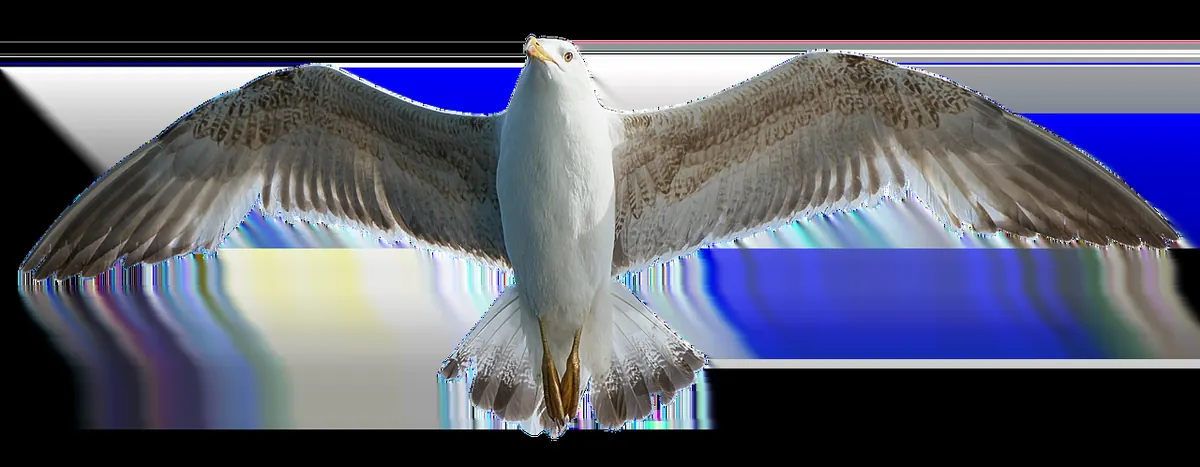
- 1/1000–1/1600 sec — most ducks, gulls, crows, woodpigeons, and a hovering kestrel.
- 1/2000 sec and beyond — waders, terns, tits, swifts, and anything small and sudden.
With the speed fixed, set aperture somewhere around f/5.6 to f/8. That gives you a little depth of field across a swept wing without asking too much of the light. Then let auto ISO fill in the gaps, with a ceiling you can live with — 6400 on most current bodies. A slightly noisy frame printed at A4 beats a clean frame with a soft bird every time. In a grey British January, that ISO will climb, and you should let it.
Autofocus: continuous, and uncomplicated
Use continuous autofocus — AF-C on Nikon and Sony, Servo on Canon — and set the drive mode to its fastest burst. Choose a small zone of points rather than the whole frame. Subject and eye detection is genuinely useful for a heron crossing a lake, and genuinely unreliable when a swift occupies two per cent of a bright cloudy sky.
Two settings repay the effort of learning them. The first is back-button focus, which separates focusing from the shutter and means a bird that slips out of your points does not drag the lens to the far horizon. The second is the focus limiter switch on the lens barrel; set it to the range that matches where your birds actually are, and the lens stops hunting through the background between frames.
Shoot in short bursts of three to five frames. Long bursts fill cards, heat the buffer and tempt you to keep the wrong moment.
Exposure when the bird is against the sky
The camera will meter the sky and give you a silhouette. On a bright overcast day, add roughly +0.7 to +1.3 stops of exposure compensation and check the result on the back of the camera. The bird's palest feathers should sit close to the right-hand edge of the histogram without clipping.
If the light is stable, manual exposure with auto ISO is more consistent than chasing compensation as the bird moves across the sky. Either way, shoot RAW so you can pull detail out of a dark underwing later. And pay attention to where the sun is: light from behind your shoulder shows plumage colour, whereas light from the front turns a barn owl into a white shape with no texture.
Handling: pan smoothly, then follow through
Stand with your feet apart, elbows tucked in, the lens supported by your left hand underneath rather than gripped from the side. Turn from the hips, not the shoulders, and keep the movement steady. Smoothness matters more than speed; a pan that matches the bird's flight looks effortless and produces sharp head and eye detail against a streaked background.
Start tracking before the bird is close enough to fill the frame. Pre-focus on the perch of a bird about to launch. Press the shutter in a controlled burst, then keep panning after you finish — some of the sharpest frames in a sequence arrive a moment after you assumed you were done. If your lens has a panning stabilisation mode, use it. For heavy glass, a monopod with a gimbal head will save your arms and improve your hit rate.
Keeping both eyes open helps more than people expect. One eye watches the viewfinder, the other watches the bird, so you can see it coming before it enters the frame.
Fieldcraft beats equipment
The photograph is usually decided before the bird takes off. Spend a few sessions doing nothing but watching: where do the waders feed as the tide pushes them up the estuary? Which hedge do the yellowhammers cross? Which corner of the reservoir do gulls work into the wind? Birds take off and land into the wind, so position yourself with the breeze coming towards you and your subjects will fly at you rather than away.
Get low, especially near water. A photographer kneeling at the water's edge shoots birds against a low bank of reeds instead of a blank sky. Use whatever cover is available — a hedge, a sea wall, a bank of gorse, a parked car — and avoid breaking the skyline. Move slowly and indirectly, and stop when a bird lifts its head. If you have a feeding station, set a couple of natural-looking perches near a window, then wait quietly and photograph the arrivals and departures.
Practise on the birds you take for granted
Gulls over a reservoir, mallard on a park lake, woodpigeons crossing a stubble field: these are your training ground. They are large, common and forgiving, and they let you rehearse the whole routine without the pressure of a rarity.
- Track a gull for a full minute without pressing the shutter. Just keep it under the points.
- Pan through one complete pass and take three deliberate frames. No machine-gunning.
- Shoot the same subject one stop faster and one stop slower, then compare the wingtips.
- Pre-focus on a settled bird and wait for the take-off. Give it ten minutes if you must.
A short field routine
Before you leave the car, run the same checks every time: shutter speed set for your target, aperture around f/5.6–f/8, auto ISO on with a sensible ceiling, continuous autofocus, fastest drive mode, stabilisation in panning mode, a spare battery and space on the card. Then put the camera down and watch the site for a while.
Most flight shots fail for boring reasons — too slow a shutter, a bird that was always flying away, a pan that started too late. Blurred frames are tuition, so review them honestly and adjust one thing at a time. Take the same three or four photographs properly, week after week, and the lapwing will stop being a smudge and start being a photograph.
Photo: Momentmal / Pixabay